If you want to be more self-sufficient in your travels, you can purchase a solar kit for caravan, with which you can charge the batteries and generate your own electricity. Everything you need to know before installing your solar panels on your caravan, camper or motorhome is explained in the following post. We help you so that campering your caravan with solar panels does not become a complicated task.
Useful tips before installing solar panels on a caravan
First of all we must assess whether it is worth installing panels or not. If you are one of those who do a few kilometers a day and end up sleeping in a campsite where you can connect to the mains, you probably do not need this type of installation. If, on the other hand, you spend several days in the same location and do not usually spend the night in campsites, keep reading because you are interested in this post…
IMPORTANT considerations before equipping our caravan with photovoltaic solar energy are:
- See the space we have because the biggest limitation of these facilities is the usable space on the roof.
- Calculate the power we need according to our consumption.
- Types of trips and duration of the trip.
Necessary elements in a solar installation for caravans.
2.1- Solar panels
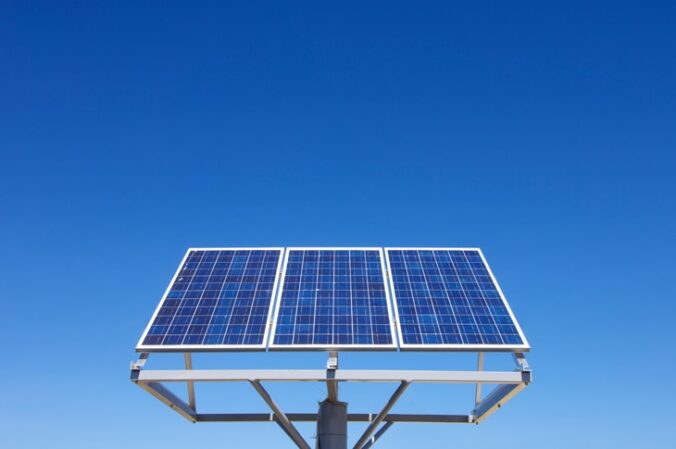
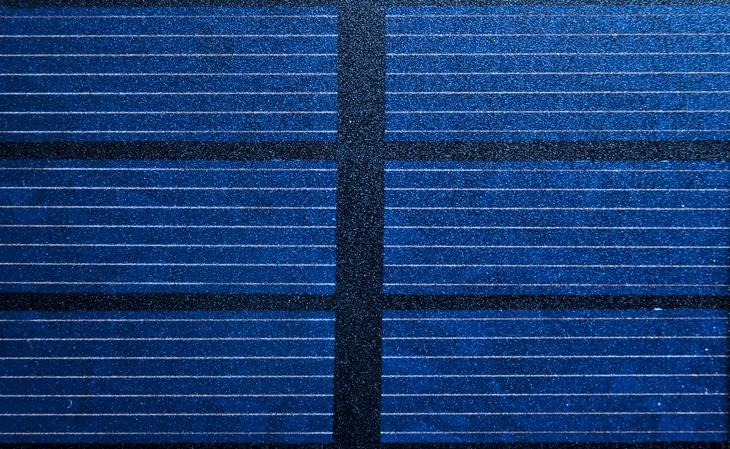
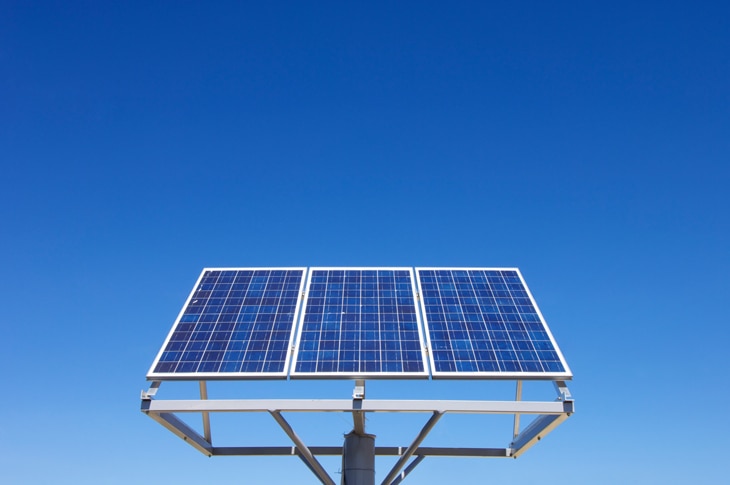
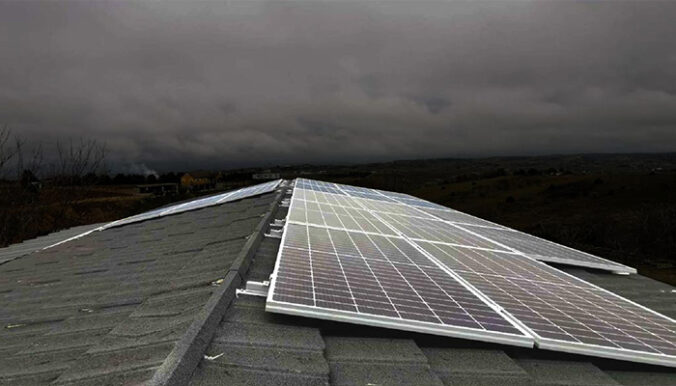
Function: The main function of the solar panel is to obtain electrical energy from the solar radiation during the day that they capture thanks to their silicon cells., which is distributed through the electric cable to the charge regulator, which will be in charge of storing it in the battery. They are installed on the roof, usually glued and without protruding from the dimensions of the roof according to Spanish regulations. In a camper van the solar panel is usually used as a charging aid.
- How many solar panels do I need for a camper van?
The number of panels that we will need for our installation will depend on the electronic devices that we want to connect. We will have to consult the watts (in the back label of the device), the hours that they will be working and then we will be able to make the calculation.
- Calculation of the power I need in my solar panels
The most important thing is to know the consumption that we are going to have to be able to size our installation correctly. Let’s see an example of calculation:
- The yield of a plate is approximately 60-70%, therefore, a 100W solar panel will deliver a maximum of 60W.
- The installation position of a solar panel on the roof of a van is not optimal. A solar panel, to work at maximum performance, should be placed at an angle of 45º in winter or 15º in summer. For mixed use, it is normally installed at 30º in fixed domestic installations.
- The location and time of year are factors to be taken into account.
The current intensity that a panel will be able to supply is determined by the following formula :
Intensity = Power/Voltage * Efficiency
If we have a 100W solar panel and an efficiency of 70%, the formula would be as follows:
100W/12V * 0.7 = 5.83Ah
This means that the solar panel, in full sunlight, can generate at most 5.83 Amps per hour.
If we assume that our daily consumption is 50 Amps, let’s see what solar panel we would need.
We are also going to suppose that in summer we take advantage of a total of 7 hours of sun per day, while in winter, because there are less hours of sun, we only take advantage of 3 hours per day on average.
Well, if we have a 100W solar panel for example, we would obtain the following daily energy:
In summer: 5.83A/h x 7 hours = 40.81 Amps per day.
In winter: 5.83A/h*3 hours = 17.49 Amperes per day.
In no case do we reach 50 Amperes of daily consumption. In addition, we are not taking into account other losses that exist (such as the loss of the charge regulator), the loss in the wiring and without counting the days when there is no sun… With 100W of panel, the solar panel is simply going to be a support for the battery to discharge more slowly.
The more panels we can install, or more capacity (Wp), the more energy self-sufficiency we will achieve.
Below we leave you some solar kits for caravans as an example, so you can get an idea of the configuration. They are kits that already include all the materials ready to install: solar panels, batteries, inverters, regulators and necessary wiring.
- What solar panel is better: Monocrystalline or Polycrystalline?
Depending on the climate, one type of panel or the other is recommended. Monocrystalline panels tend to be used more in cloudy climates and polycrystalline panels in places where the sun shines more directly and where they are more resistant to high temperatures. On the other hand, monocrystalline plates are usually more powerful for the same number of cells (same surface area).
The differences are not very noticeable, so it is better to choose those that are better value for money.
- Maintenance of the solar panels in a motor home
For the good functioning of our installation it will be necessary to keep the solar panels clean. The fact of installing the solar panel in a flat position will make the dirt accumulate more easily.
- Autonomy solar panels in a motorhome
When installing the solar panels in our caravan what we obtain is to recharge the batteries without the vehicle is in march and without being connected to an electrical network, which is perfect to lengthen the life of the batteries and to avoid that they remain without load.
2.2- Batteries for motorhomes.
Function: The batteries are in charge of storing the energy during the hours of light captured by the solar panels to be able to have it later at night or in moments of low luminosity. When choosing it we will have to take into account the percentage of discharge.
- What type of battery is best for my caravan?
The battery is one of the most important components to take into account in any photovoltaic installation. The caravans normally already have batteries but if what we want is to connect different devices and to make use when we are stopped, the own ones that the caravan takes would not serve us.
The original batteries of the car are not designed for such use.and in addition to using them, there would be a high risk that the battery would be discharged so much that the van would not even start…
We would have to add auxiliary batteries. Although there are different types of batteries, in Atersa Shop we recommend the AGM or Gel batteries because they are more economic, they admit deep discharge cycles and they are completely safe because they are sealed and they do not need maintenance. They can be installed in any position, although it is not advisable to install them in inverted position.
With the AGM batteries and GEL batteries (as the rest of lead/acid batteries) we will have to bear in mind that the discharges are carried out to 50% more or less. Which means that although we have the battery charged to 100% it is only going to be discharged up to the half.
- What battery capacity should I choose?
The capacity of the battery is measured in Ah (ampere hours). To choose the suitable battery we will have to consider the total sum of amperes that we are going to need daily according to the consumptions. We will always value this data a little above in case in a future we want to extend.
To calculate the capacity of the battery that we need in our installation
We give you some advices to calculate the ideal size of battery;
The voltage by defect in an electrical installation of camper van is of 12V. Bearing in mind that the capacity of the battery is measured in Ah (ampere hours). Next we will calculate what is going to be our consumption with the following formula.
THE FORMULA IS -> Energy (Wh)/ Voltage (V) = Ah (amp hours)
IN THE SAME WAY -> Ah (ampere hours) * Voltage (V) = Energy (Wh)
As we have indicated, AGM/Gel batteries (as any lead acid battery) should not be discharged below 50%. Therefore, the amount of Ah (ampere hours) should be more than double the result obtained.
Example of consumption in Ah per day :
The sum results in a total consumption of 47.68 Ah. Taking into account this data we would choose a battery of 100Ah/day (the double) as minimum and thus we solve the problem of the discharges to 50% (the battery must not be discharged more than 50% of its capacity). If this consumption is done during 2 days then the capacity of the battery would increase to 200 Ah (2 batteries of 100ah connected in parallel or one of 200Ah). To be able to connect them in parallel in this case, we will always have to make sure that the two have the same voltage and to have wiring as similar as possible.
If you have enough space, a higher capacity battery (150Ah or more) would be ideal, as this will mean that you will have more autonomy.
Each trip is different, so we recommend that you make the appropriate calculations depending on the type and duration of your trips. If you are one of those who move around and do not spend the night in campsites, you will need more autonomy and therefore more battery capacity.
2.3- Charge regulator
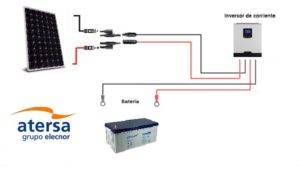
Function: What the charge regulator does is precisely to “regulate” the energy supplied by the solar panels until it reaches the batteries. The regulator manages the energy of the solar panels, the necessary one for the batteries to work and will even know at all times when the battery is discharging and when it will have to start charging it. It is installed between the solar panels and the battery.
- Difference between PWM and MPPT charge controller:
PWM charge controllers are much cheaper than MPPTs but if what we want is to install high power solar panels, or maximize the performance of our panels, we would have to use MPPTs. Discover the differences between these two types of regulators.
Regulators are measured in Amps. To know the type of regulator we need, we must first know the peak watts (Wp) that our panel installation will provide.
If for example we have 150Wp panels and we work with 12V voltage, we will be talking about 12.50 Amps. In this case the PWM charge regulator would have to be of the same amperes or higher amperage.
In a MPPT regulator you can use larger panels or connect several panels in series increasing the voltage of the panel field but the result is similar. A 30A 12V regulator will allow the installation of panels up to 360Wp or several panels in series not exceeding the same power figure. It is advisable to follow the manufacturer’s instructions in order not to exceed the maximum power or voltage allowed by the MPPT regulator.
2.4- Current inverter (optional if we wish to have alternating current).
Function: The inverter is connected to the auxiliary battery and is in charge of transforming the 12v provided by the battery (direct current) to 230v (alternating current, which is what we usually have at home). It is the one that is going to allow you to connect different electronic devices.
If we are only going to charge the cell phone and a light bulb we will not need to have an inverter in our caravan, it would be enough with the solar panel and the battery. But if we need to charge more devices such as a laptop, a hairdryer or a coffee maker then the inverter will be essential.
- What type of inverter is best for a caravan?
There are two types of inverters. From pure wave and modified wave. We advise to use pure sine wave inverters for caravans, they are more expensive but it is the most similar to the connection to the network that we have in our house and allows us to connect any appliance.
We observe the watt hours (Wh) consumed by each appliance and according to this we choose the power of the inverter.
Is it necessary to homologate the solar installation on a caravan?
The approval of a solar installation on a caravan in Spain is currently mandatory if the dimensions of the vehicle are modified. Exceeding the dimensions of the vehicle without approval may result in the immobilization of the vehicle, or it may not pass the Itv.
The installation of a solar panel in a flat position on the vehicle is not considered a homologable modification (as long as it does not protrude from the roof of the vehicle). In any case, it is advisable to get more detailed information at any station.
Installing the solar kit on your caravan
In Atersa Shop you can buy all the necessary products for the installation separately but we have configured solar kits for caravans thinking about your needs. Buying the set will be more economical.
To install your solar kit follow these basic instructions;
- Attach the solar panel with silicone to the roof and run the wires inside.
- Connect the regulator to the battery and then the panels to the regulator.
- Use a fuse between the regulator/inverter and the battery and another fuse between the regulator/inverter and the battery to avoid overloads.
- Use the right wiring. Take into account the length and thickness.
