The installation of solar panels is a process that consists of several stages. We are going to explain you how to install a solar panel system in your house and what you have to do, from the project, to the commissioning and registration.
Stages prior to the installation of solar panels
- The first step in the process of installing solar panels is to obtain a proposal for the photovoltaic installation based on the possibilities of the house and an analysis of the current consumption generated by the house.
- The second step consists of having a team of professionals who know how to install solar panels carry out a preliminary study of the typology, orientation and surface of your roof, as well as the possible associated shadows to determine if all the requirements for the installation of solar panels are met and to select the installation that best suits it and your consumption habits. This will help to obtain a better performance from the photovoltaic installation.
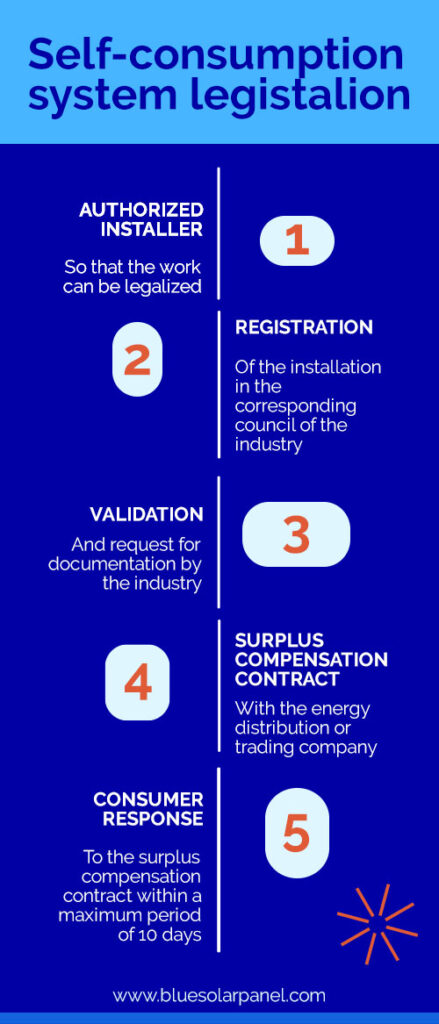
- Once this is done, a series of procedures and licenses must be presented to the corresponding town hall, for which, in most cases, we must wait until they are approved by the town hall. In addition, the corresponding fees and/or taxes that apply in each case must be paid. It should be taken into account that there are bonuses available for self-consumption installations.
- Once all the previous steps have been covered, the photovoltaic installation on your roof can be carried out.
Below we detail the installation process itself.

How is the installation of solar panels carried out?
We explain the methodology, step by step, on how to install photovoltaic solar panels. However, we must bear in mind that it is a meticulous process and that it must be done with the utmost care by the responsible technician to ensure the optimal functioning of the system and avoid future problems.
First step: mounting the supports of the photovoltaic system
Before placing the solar panels on the roof, it is necessary to place the supports for them on the roof. Depending on the type and inclination of the roof, the type of structure to be used will vary. For example, the support structure will not be the same on a roof whose modules are placed coplanar to it, than on a flat roof in which the modules have to be inclined in a certain way to obtain the highest possible efficiency of the system, and also ballast the structure to avoid the so-called “sail effect” (that is, to ensure that the panels and structure do not “fly off” due to the effect of the wind).
Second step: Fixing the roof and the solar panels
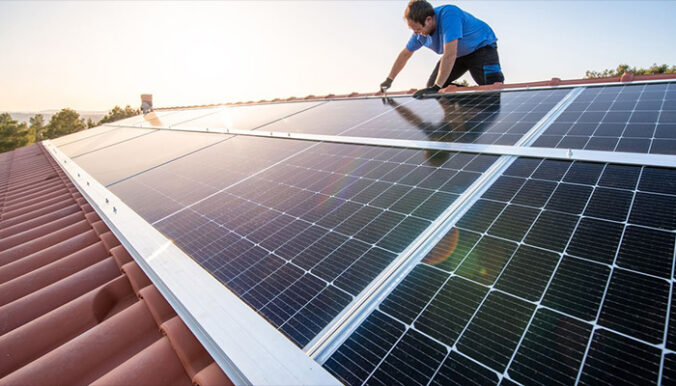
Once the structure is in place, we must attach it to the roof and place the photovoltaic panels on it. Depending on the type and inclination of the roof, this process is carried out in different ways.
The most usual is that the roof is inclined (in Spain the great majority of the roofs are inclined between 20º and 35º, which favors the performance of our installation) and of Arabic type tile, nevertheless it can be a different case, like slate tiles or flat roofs covered with asphalt fabric, among others. The anchoring of the support structure will vary depending on the roof on which it will be anchored.
Once the structure is anchored on the roof, the modules are placed and fixed to the roof after which they are interconnected to each other, and finally connected to the inverter.

Third step: The connection to the electrical inverter
The interconnection of the panels is done in series between the modules of the same row or string, and in parallel to connect the rows to each other depending on the panel/inverter configuration. This is done by means of so-called MC4 connectors to connect the modules in parallel, or directly to the inverter. It is important to tighten the connectors firmly, as a bad connection will have a negative impact on the overall performance of the installation causing possible problems such as the so-called hot spots, which can also affect the panel structure itself.
In this way the total electrical generation of the module system is led to the same point, whose final destination is to reach the inverter.
Finally, a parallel connection is made, which can be made directly to the inverter, thus completing the direct current (DC) part of the installation, and all the energy collected by each panel is conducted through solar radiation in the form of electric current to the inverter, which will be located at a point near the electrical panel of the house.
It is important that the inverter is sheltered from the sun’s rays, that is, they should not be located on the south side of the house as its performance is affected if they heat up, so it is advisable to locate it inside the house, or if it is not possible and place it outside, provide it with some element of protection.
The function of the inverter is simply to convert the electricity it receives in the form of direct current to alternating current, which is the one we use in our homes on a daily basis. This change is made automatically by the inverter, with a specific magnitude and frequency, so that we can enjoy it without major worries.
Finally, the inverter is connected to the electrical panel, as if it were a separate circuit of the house, thus completing the installation of alternating current (AC).
Fourth step: Connecting the batteries
If you are going to choose to store the energy you generate, apart from how to install the solar panels in your house, you are also interested in how to connect the batteries.
First you must have a hybrid inverter, capable of managing the charging and discharging of the batteries, as they are the most expensive and delicate element of the system. The storage capacity of your batteries will depend on your demand and the installed PV field.
There is more than one way to do it, depending on the voltage and capacity needed. The connection of the batteries can be done in parallel, in series or in series and in parallel, always with equal batteries. In the case of parallel connections, the capacity of the batteries is doubled, but the same voltage is maintained. In the case of the connection in series, the obtained results are going to be opposite: the capacity of the batteries is maintained, but the tension is the double. And finally, if you opt for a connection in series and parallel, both the capacity and the voltage will double.
Conclusion
The installation of solar panels consists of:
- Mounting the supports of the plates
- Fixing the roof
- Fixing the solar panels
- Connecting the system to the inverter
- Connecting the inverter to the electrical panel
- Connecting the batteries in the case of off-grid installations.
Now that we have told you how to install solar panels, you know that the installation of photovoltaic panels is a laborious and complicated job for anyone without electrical knowledge, so it is always recommended to leave it in the hands of industry professionals with experience in this type of assembly.
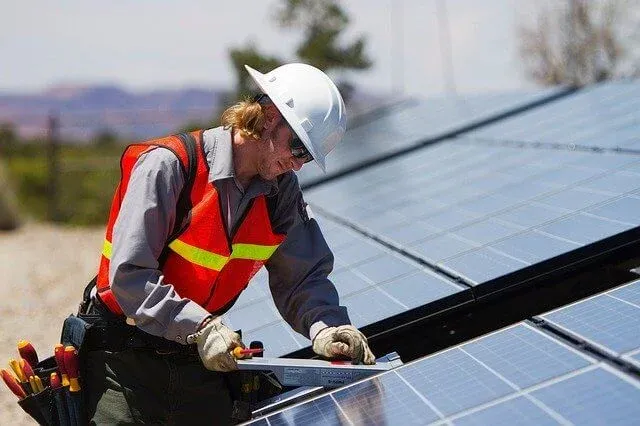
In addition, electrical, urban and health and safety regulations must be complied with, and various protections must be taken into account at all times, both in relation to the height and location of the work and the electrical risks associated with the installation (safety harness, suitable footwear, helmet, protective gloves…).
These installations must also be carried out in accordance with the stipulated guidelines and regulations.


Leave a Reply